Apple is one of the most well-known brands in the tech industry. They make devices that many of us use in our day-to-day lives, and as technology advances, many of these devices have wireless capabilities and implement Bluetooth.
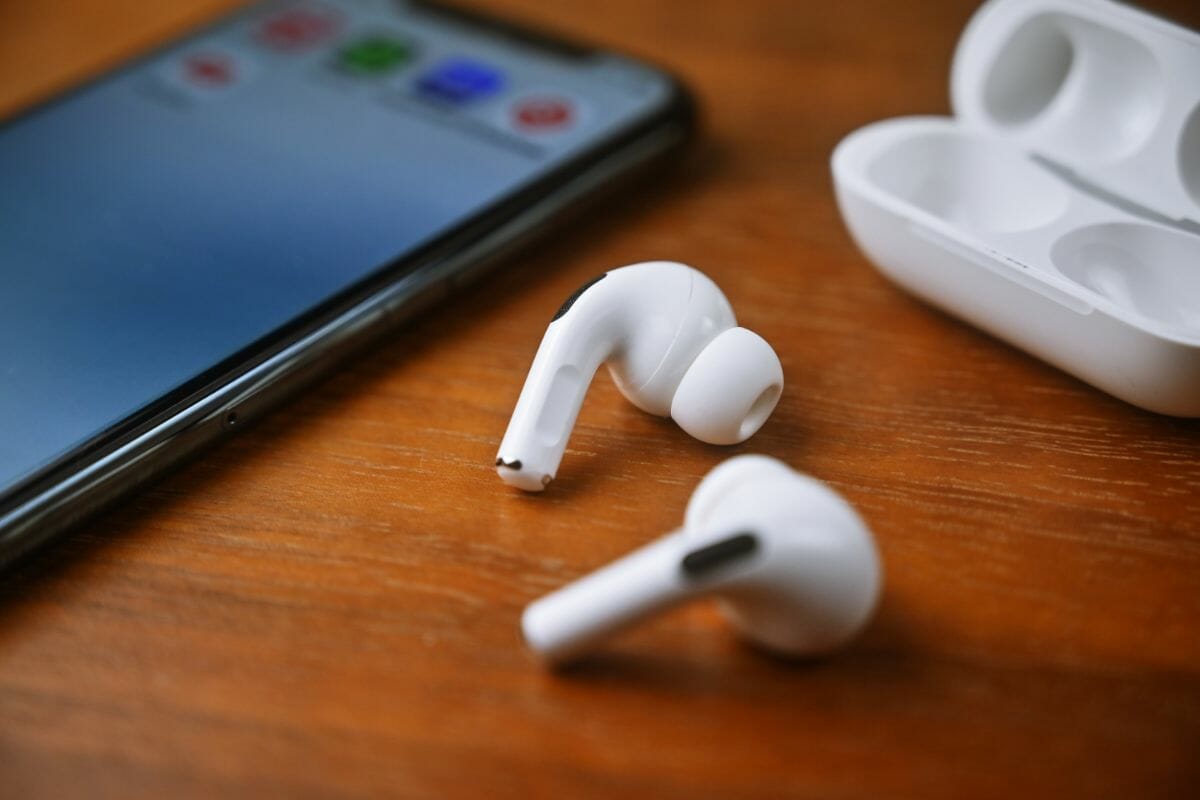
For those who aren’t tech-savvy, opening your brand new Apple AirPods and figuring out how they work can be tricky. But it all starts with putting them into pairing mode so you can connect them to your devices.
If you want to know how to put your AirPods into pairing mode, read on and find out exactly how to do it for any device and what you should do if you can’t get your AirPods to connect.
Why Do AirPods Need To Be Put Into Pairing Mode?
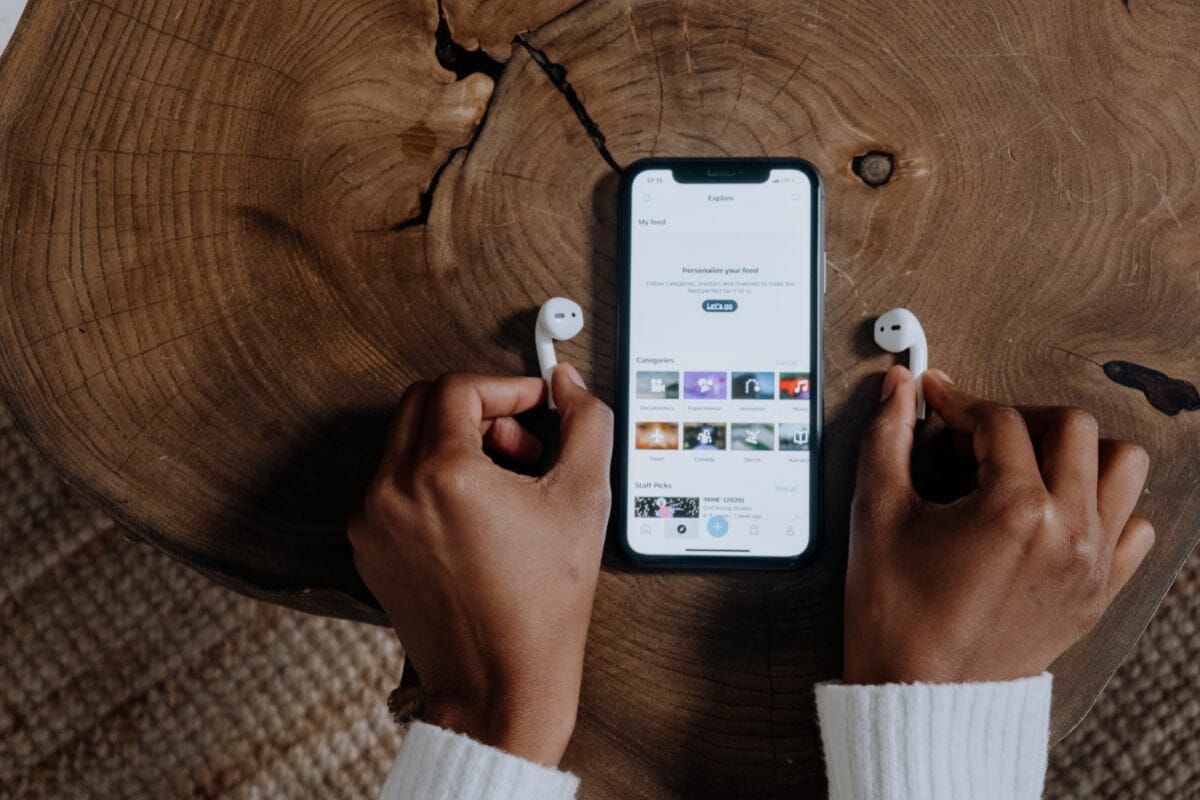
Before you can use your AirPods, you need to pair them with your Bluetooth device. By putting your AirPods into pairing mode, you can connect to your iPhone, iPad, Mac, Android, or any other device that supports Bluetooth.
Once you’re connected, you can listen to music and make calls with your AirPods. You cannot use your AirPods to make or take calls, play music, or perform any other actions without first pairing them.
Pairing Mode For Mac
- Place the AirPods in the AirPod case and keep the lid open.
- Make sure the AirPod case is close to your Mac.
- Press the pairing button on the back of the case until you see a white flashing light.
- Click on the Apple menu on your Mac.
- Select the “Systems Preferences” option.
- From there, you’ll find the “Bluetooth” option. Click on it.
- Scan through the “Devices” list on your screen to find your AirPods.
- Click the name of your AirPods to connect them to your Mac.
Pairing Mode For iPhone Or iPad
- Start by unlocking your iPhone or iPad.
- Make sure you’re logged into your iCloud account. If you’re not, sign in.
- Place the AirPod case with the AirPods inside close to your iPhone or iPod and open the lid.
- If you have the latest version of iOS, you’ll see an automatic pop-up on the screen displaying a “Connect” button.
- If you don’t have the latest iOS and don’t see a message prompting you to connect, long press the pairing button on the back of the AirPod case.
- When you see a white light flashing, release the button.
- The “Connect” button should now appear on your iPhone or iPad.
- Tap “Connect” and the white flashing light should turn a solid green to indicate that your AirPods have successfully connected.
Pairing Mode For Android
- Place your Android device and AirPod case with the AirPods inside next to each other.
- With the AirPods inside the case, open the lid.
- Press the pairing on the back of the case until you see a white flashing light.
- Open the “Bluetooth” menu on your Android.
- Tap “Pair New Device” to find your AirPods in the list of available devices.
- Tap on the name of your AirPods to connect them to your Android.
What To Do If Your AirPods Don’t Go Into Pairing Mode?
If you find that your AirPods are not pairing with your device after following the above steps, then here are some troubleshooting tips that might help you fix the problem.
Make Sure Bluetooth Is On
Firstly, you should make sure that the Bluetooth on your device is turned on. Regardless of what device you have, you need to have this turned on to be able to connect your AirPods wirelessly.
To check if your iPhone or iPad’s Bluetooth is turned on, head to the Control Center and look for the Bluetooth symbol. If it is blue, then your Bluetooth is on; if not, just tap it to turn it on. You can also do this by heading to the Settings app, selecting Bluetooth, and turning it on from there.
For Mac, you can go to the Apple menu, select System Preferences, click on Bluetooth, and see if your Bluetooth is turned on from there.
Check Battery
Another simple step you can take if your AirPods aren’t pairing with your device is to check the AirPods’ battery life. If the AirPods, AirPods case, or both have low batteries, you won’t be able to pair them.
To check your AirPods case’s battery status, look at the status light that shows how much battery is left. This light will either be on the outside or inside of the case, depending on what model of AirPods you own.
To check the battery life of your AirPods, place them in the case and look to see if there is a green light. If there is, your AirPods are fully charged. A yellow light or no light at all means you should charge your AirPods.
Reset Your AirPods
You can also try resetting your AirPods to factory settings to try to resolve the problem. To do this, start by putting your AirPods in the case and closing the lid. Wait 30 seconds, and then open the lid.
Then, go to the Bluetooth option on your device and tap the button next to the name of your AirPods. Next, select “Forget This Device.”
Press and hold the setup button on the back of your AirPods case for about 15 seconds until the status light flashes amber and then white. Once your AirPods are reset, you can try pairing them to your device again.
Restart Device
Restarting the device you are attempting to pair the AirPods with is the next step to take if you are still experiencing problems. The majority of the time, this will fix the issue.
To restart your Mac, simply select the option from the Apple menu, as you would when shutting down your device.
For the latest model of iPhone or iPad, you can restart the device by pressing the volume up button, then the volume down button, and finally holding down the side button until you see a black screen with the Apple logo.
To Conclude
Once you know how to put your AirPods into pairing mode, the rest is simple! With this guide, you’ll be able to connect your AirPods quickly, and start using them in no time.

From a young age, I have always had a big interest in technology, and this blog is an extension of that interest. Through this blog, I hope to provide others with all of the information they need regarding tech options to consider, and things such as compatibility. Some of the different items I will be discussing include headphones, smartwatches, and how to fix common issues.
Related Posts:


