The Fitbit Versa 2 is a versatile and stylish smartwatch that allows users to personalize their device by changing the clock face. This popular feature lets you tailor your watch’s appearance to match your preferences and personality. With numerous clock face options available, you can easily switch between styles to suit your mood, occasion, or outfit.
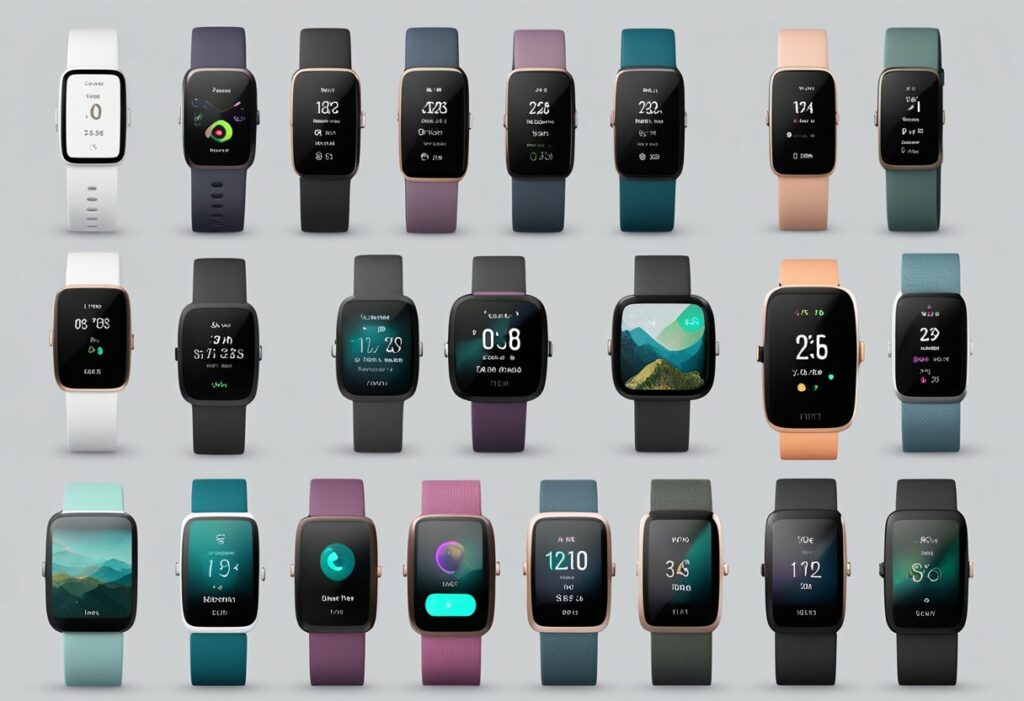
To change the clock face on your Fitbit Versa 2, you’ll need to use the Fitbit app on your smartphone. The app offers a wide selection of clock faces to choose from, ranging from minimalist designs to more intricate and colorful options. Once you’ve chosen your desired clock face, it’s simply a matter of downloading and installing it onto your Versa 2. This customization process ensures your smartwatch is as unique as you are and reflects your personal style.
Key Takeaways
- Fitbit Versa 2 offers a customizable clock face feature for personalization
- Use the Fitbit app on your smartphone to browse and select clock faces
- Download and install your chosen clock face to make your Versa 2 reflect your style
Understanding Your Fitbit Versa 2
The Fitbit Versa 2 is a versatile and feature-rich smartwatch, designed to help you track your fitness goals, stay connected, and manage your day-to-day activities. With its sleek design and customizable clock faces, your Versa 2 can be personalized to reflect your unique style and preferences.
One of the key aspects of the Versa 2 is its impressive battery life. On a single charge, the device can last up to several days, depending on your usage and the settings you have enabled. To ensure your smartwatch performs at its best and lasts as long as possible, it’s essential to maintain the health of its battery.
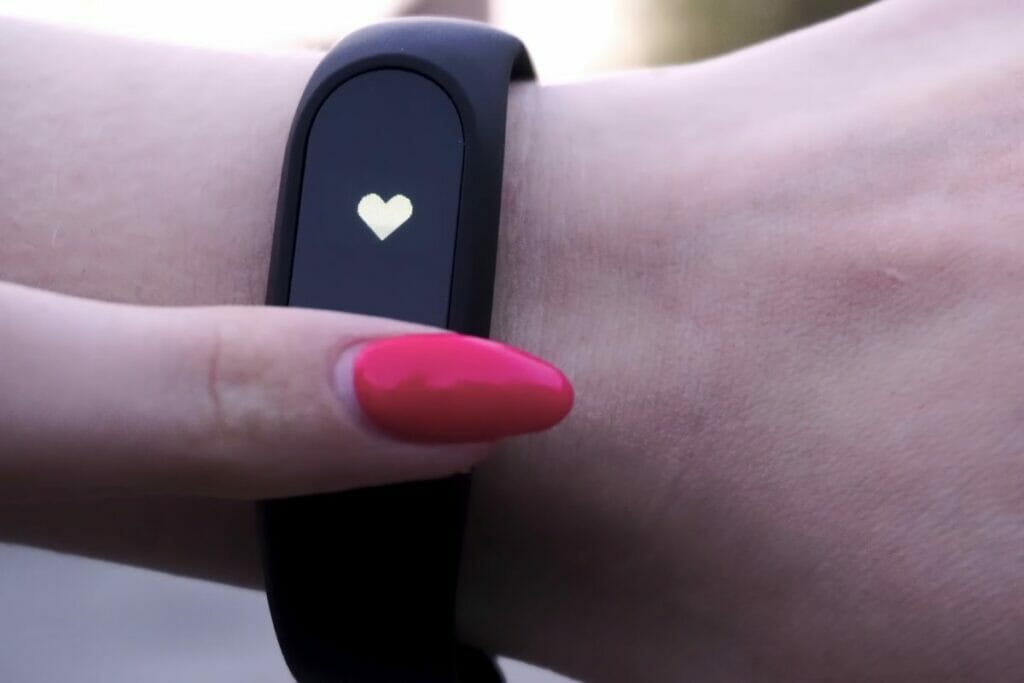
In addition to tracking your steps, distance, and calories burned, the Versa 2 offers a wide array of features that make it a valuable tool for monitoring your overall health. The watch allows you to track your sleep patterns, heart rate, and even includes guided breathing exercises to help you stay calm and focused throughout the day. These various features are represented by different icons on the device’s screen, each providing useful insights into your daily habits and progress towards your goals.
Customizing your Versa 2 is quick and easy, with the ability to change clock faces and even delete your entire Fitbit account if you wish. If you decide to delete your account, follow a few simple steps and your Fitbit account will be erased, ensuring your personal data stays secure.
With its countless features and options, the Fitbit Versa 2 truly stands out as a top-notch smartwatch, helping you to stay motivated, informed, and in control of your fitness journey. So, take advantage of these capabilities and make your Fitbit Versa 2 work best for you.
Getting Started with Your Fitbit Versa 2
Congratulations on your new Fitbit Versa 2! To get the most out of your device, you’ll need to set up an account, sync it with your smartphone or tablet, and ensure it’s connected to your Android or iOS device. Don’t worry, the process is straightforward, and we’re here to guide you through it step by step.
First, make sure your Fitbit Versa 2 is charged. You can then download the Fitbit app on your Android or iOS device. Once the app is installed, open it and create a new account or sign in to your existing Fitbit account.
Once you’re logged in, you’ll be prompted to add a new device. Select “Set Up a Device” and choose “Versa 2” from the list. Follow the on-screen instructions to connect your Fitbit Versa 2 to your account. When prompted, make sure your Versa 2 is nearby and enter the code displayed on the watch screen into the app to pair them.
To sync your Fitbit with your smartphone or tablet, ensure that your phone’s Bluetooth is turned on. The app will guide you through the process of giving permission to access your phone’s notifications, location, and other settings. Completing these steps will allow you to receive notifications from your phone, such as messages and calls, directly on your Versa 2.
Now that your devices are connected, it’s essential to regularly sync your Fitbit to transfer data between your Versa 2 and smartphone or tablet. By default, your Fitbit app will automatically sync with your watch every 15-30 minutes. Nevertheless, you can always manually sync your devices by opening the Fitbit app, tapping on your watch, and selecting the “Sync Now” option.
For more detailed instructions on how to set up your Fitbit Versa 2 to work seamlessly with your phone, you can follow this quick guide. Once everything is set up and connected, you’re all set to start enjoying your new Fitbit Versa 2 and exploring its many features, including tracking your steps, heart rate, and more!
Changing the watch face on your Fitbit Versa 2 is simple and straightforward. To start with, you’ll want to press the button located on the left side of your watch. This action will wake up the screen and display the current watch face.
Next, you’ll need to swipe left on the screen to browse through the available watch faces. You can swipe multiple times to cycle through various styles and designs. Once you find a watch face that you like, simply tap on it to select it. Your device will automatically update the screen with your choice.
In addition to using the swipe gestures, you can also navigate by using the device icon on your Fitbit Versa 2. This icon can be found on the top right corner of the screen. Tapping on the device icon will bring up a settings menu where you can access various options, including your watch face selection.
Remember to explore other settings too, like adjusting brightness and turning on additional features, to fully customize your Fitbit experience. And if you ever find yourself in need of charging your device, there are ways to charge it without the charger, so you never have to worry about running out of battery.
Navigating your Fitbit Versa 2 is easy once you become familiar with the button, swipe gestures, and the device icon. Enjoy personalizing your watch face and exploring all the fantastic features your Fitbit has to offer!
Accessing the Clock Faces
Changing the clock face on your Fitbit Versa 2 is a simple process that allows you to personalize your device. First, you need to open the Fitbit app on your smartphone. Once the app is open, select the Account icon, typically found in the lower right corner of the screen.
Navigate to the Devices section and select your Versa 2. This will show you all the available settings and customization options for your smartwatch. Among these options, you will find the Clock Faces section. Click on it to access the available clock faces for your Fitbit Versa 2.
The Clock Faces section will display two main tabs: My Clock Faces and Gallery Clocks. In the My Clock Faces tab, you’ll see the clock faces you’ve already installed on your device. On the other hand, the Gallery Clocks tab showcases a wide variety of watch faces available for download and installation.
Browse through the Gallery Clocks tab to find a clock face that suits your style and preferences. Remember that some clock face designs might require a purchase, while others are available for free. Once you’ve chosen a clock face, click on it and then select the Install button.
As soon as the installation process is finished, your new clock face will appear on your Fitbit Versa 2. Feel free to experiment with various watch faces and find the one that best suits your personal aesthetic and functional needs. Happy customizing!
Choosing and Customizing Your Clock Face
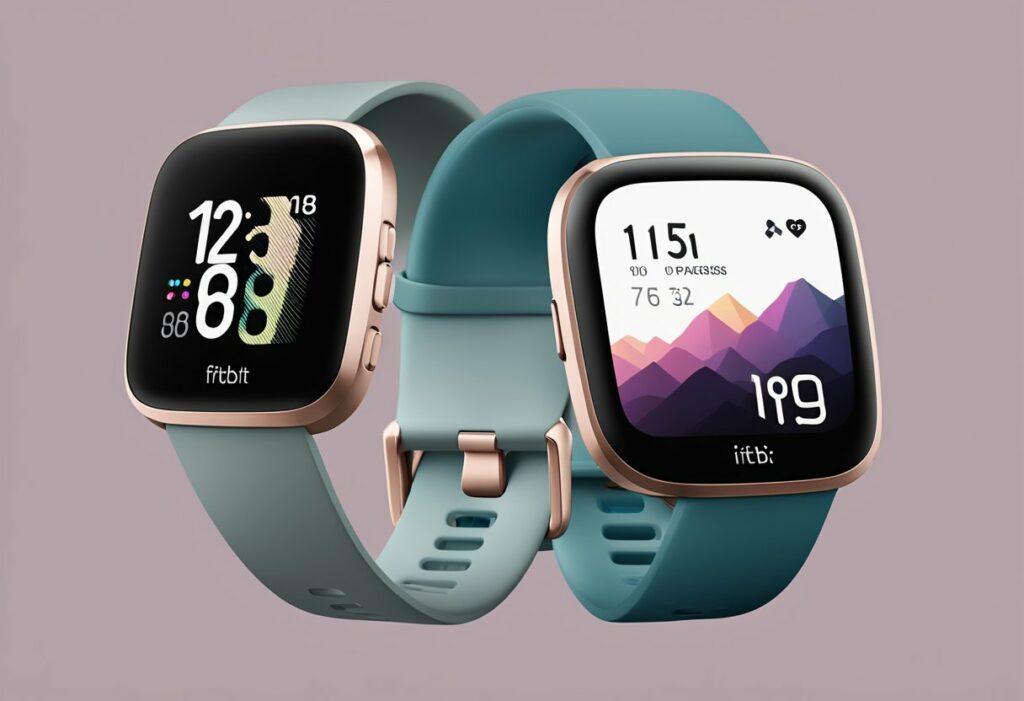
When you want to change the appearance of your Fitbit Versa 2, you can easily select and customize the clock face to match your style. With a variety of options ranging from digital and analog styles to colorful designs and even fun bitmoji avatars, there’s something for everyone.
To begin, open the Fitbit app on your smartphone and tap on the Versa 2 icon in the upper right-hand corner. Next, tap on the “Clock Faces” tile to access the available choices for your device. You’ll have the opportunity to choose clock faces from a range of categories, allowing you to find the perfect match for your preferences.
As you browse, you may come across clock faces that offer the option to customize certain elements, such as color and style. When you find a clock face that can be tweaked, check for a small gear icon next to it. Tapping on the gear icon will allow you to modify specific aspects like background colors, fonts, or hand styles for analog watch faces. Keep in mind that some clock face designs may require a purchase, so be aware of any associated costs.
If you’re feeling creative and want to have your bitmoji avatar displayed on your watch face, you can look for clock faces that specifically support this feature. Be sure to connect your Fitbit account with your Bitmoji account to take advantage of this fun option.
Lastly, don’t forget that you can also change the time on your Fitbit without using the app, giving you even more control over your device’s appearance and functionality.
Throughout this process, have fun and enjoy personalizing your Fitbit Versa 2 with the clock face that best represents you and your style!
Downloading Additional Clock Faces
To personalize your Fitbit Versa 2, you might want to download additional clock faces. First, make sure you have the Fitbit app installed on your smartphone or tablet. If you haven’t installed it yet, visit the app store on your device and download the Fitbit app for free.
After installing the Fitbit app, open it and sign in to your account. If you don’t have an account yet, create one by following the on-screen instructions. Next, connect your Fitbit Versa 2 to the app by adding it as a new device.
Once connected, you can start downloading various clock faces. In the Fitbit app, tap on the Account tab, then select Devices, and choose your Fitbit Versa 2. This will take you to a screen showing your device settings. Now, look for the Clock Faces option.
Upon selecting Clock Faces, you’ll find a vast collection of clock face designs to choose from, including both free and paid options. Some designs also provide additional features or customization options. Browse through the selection and tap on any clock face that catches your eye.
To download and install a clock face, simply tap the Select button followed by Install. The new clock face will be downloaded to your Fitbit Versa 2 and set as the active clock face. Feel free to experiment with different clock faces until you find the perfect one that suits your style and needs. Remember, it’s easy to switch back and forth between your installed clock faces in the app.
Managing Your Clock Faces
Managing your clock faces on your Fitbit Versa 2 is a simple and convenient process. It allows you to customize your smartwatch’s look and feel according to your needs. Let’s explore how you can manage, save, remove, and uninstall clock faces on your Fitbit Versa 2.
To change the clock face on your Fitbit Versa 2, start by opening the Fitbit app on your smartphone. Next, select Account followed by Devices and choose your Versa 2 from the list. Tap on the Clock Faces option to enter the customization settings. Here, you can browse through available clock face designs and select the one you want to set as your default clock face. Once you have made your selection, tap Install to apply the changes1.
In the same menu, under the My Clock Faces tab, you can find a collection of your saved clock faces. To switch between them quickly, simply tap on the desired clock face and hit Install. This helps you keep your favorite designs at hand, making it easy to alternate between them whenever you want.
If you want to remove a clock face from your saved collection, head back to the Clock Faces menu in the Fitbit app, and tap on the My Clock Faces tab. Select the clock face you want to remove, then tap the trash bin icon or an uninstall option. This will remove the clock face from your saved collection but still allow you to reinstall it later from the gallery if needed2.
Remember that keeping your collection of clock faces relevant and updated can not only give your Fitbit Versa 2 a fresh appearance but also enhance your overall experience with the device. So, try experimenting with new designs and don’t hesitate to remove the ones that no longer suit your style.
Reviewing Clock Face Data
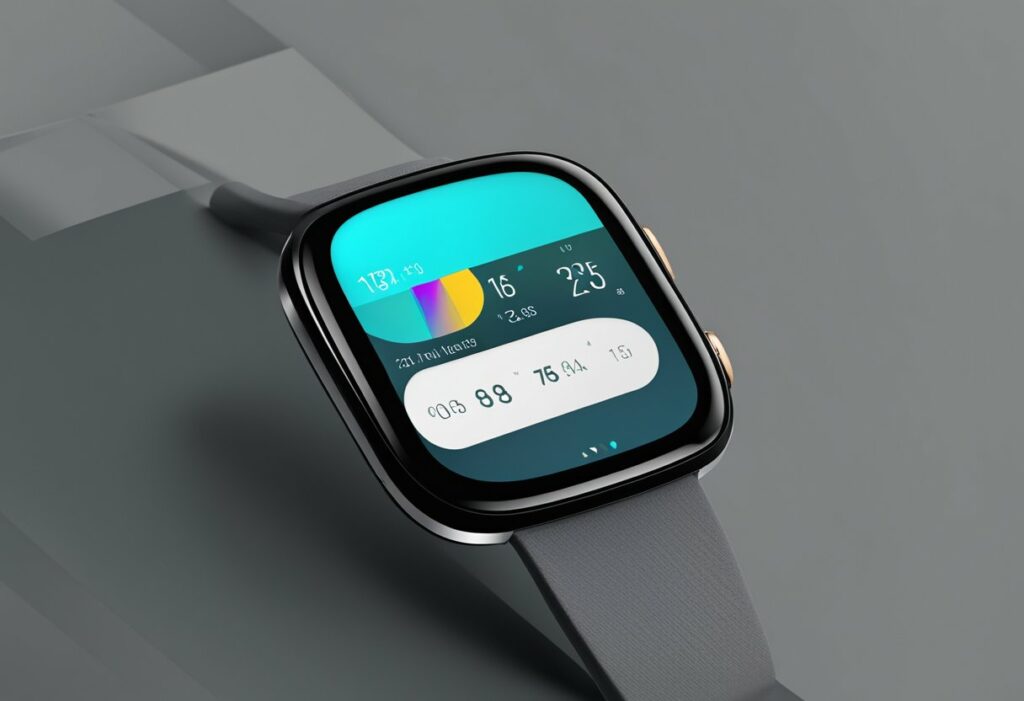
The Fitbit Versa 2 comes with various clock face options, displaying important information like stats, heart rate, calories burned, active minutes, and distance covered. It’s essential to review this data to help you stay on track with your fitness goals.
When examining your calories burned on Fitbit Versa 2, you might be wondering how accurate this information is. According to Hybratech, Fitbits use algorithms to estimate the calories burned based on various factors, such as heart rate and activity intensity.
Fitbit Versa 2 also tracks heartrate throughout the day, allowing you to monitor your resting heart rate and compare it to your heart rate during workouts. Keeping an eye on these stats helps you gauge the effectiveness of your exercises.
Another important metric you’ll encounter is active minutes, also known as “Zone Minutes” on Fitbit devices. Fitbit calculates Zone Minutes by considering the time you spend in different heart rate zones during a workout. The goal is to encourage you to engage in moderate and vigorous activities and meet the recommended physical activity guidelines.
Distance covered in your daily activities is also displayed on your Fitbit Versa 2. Whether you walk, run, or cycle, this information helps you track your progress and motivate you to move more throughout the day.
Remember, reviewing your Fitbit Versa 2 clock face data is crucial to maintaining a healthy lifestyle and achieving your fitness objectives. Pay close attention to the essential metrics like heart rate, calories burned, active minutes, and distance to stay on track and continuously improve.
Using Additional Versa 2 Features
Your Fitbit Versa 2 is more than just a fitness tracker. It offers a variety of features that make it the perfect companion for your daily activities. Let’s explore some of these additional features to make the most out of your device.
Exercise Tracking: Fitbit Versa 2 offers a range of exercise modes to suit your workout needs. You can track workouts like running, swimming, weightlifting, and more. The device automatically syncs your workout data to the app, so you can track your progress over time.
Apps Integration: Versa 2 supports a variety of apps to enhance your experience. You can download apps for weather updates, meditation, and even control your smart home devices. With Fitbit OS, you have access to a world of apps to personalize your device for your needs.
Weather & Location: Stay updated with the latest weather conditions by integrating your favorite weather app with Versa 2. Get real-time updates on temperature, humidity, and forecasts for your location. Additionally, you can set permissions for Fitbit to access your location for more accurate fitness tracking.
Notifications & Permissions: Customize your notification settings by choosing which apps should deliver notifications to your watch. You can receive text messages, call notifications, and app alerts right on your wrist. Furthermore, manage permissions to control which apps can access certain features and data on your device.
Fitbit Pay: Leave your wallet at home and make quick, secure payments with Fitbit Pay on your Versa 2. You can add your credit card information and use your watch for contactless payments at various merchants. Fitbit has equipped the Versa 2 with advanced security features to protect your data and transactions.
Water Lock: With Fitbit’s water lock feature, your device is protected during water-based activities. Activating water lock prevents accidental screen touches and tracking errors while you’re swimming or in the shower.
Remember to explore these features and integrate them into your daily routine to make the most out of your Fitbit Versa 2 experience.

From a young age, I have always had a big interest in technology, and this blog is an extension of that interest. Through this blog, I hope to provide others with all of the information they need regarding tech options to consider, and things such as compatibility. Some of the different items I will be discussing include headphones, smartwatches, and how to fix common issues.
Related Posts:


