If you’re a Fitbit user, you already know how helpful it can be in tracking your fitness activity and monitoring your overall health. However, there might be moments when you need to adjust the settings on your device, such as the time. Whether you’re traveling between time zones or daylight savings time is kicking in, it’s essential to have the correct time on your Fitbit for accurate tracking and data analysis.
Changing the time on your Fitbit device can be done primarily in two ways: through the Fitbit app or the Fitbit web dashboard for the device. The app allows you to access different account settings, including the time, and synchronize your device to ensure you have the correct information displaying. In addition, there are some troubleshooting tips you can follow if you find difficulty updating the time on your Fitbit device.
Key Takeaways
Adjusting the time on your Fitbit is essential for accurate data tracking
The Fitbit app and web dashboard allow for easy time and date adjustments
Synchronize your Fitbit device to ensure correct information is displayed
Understanding Your Fitbit Device
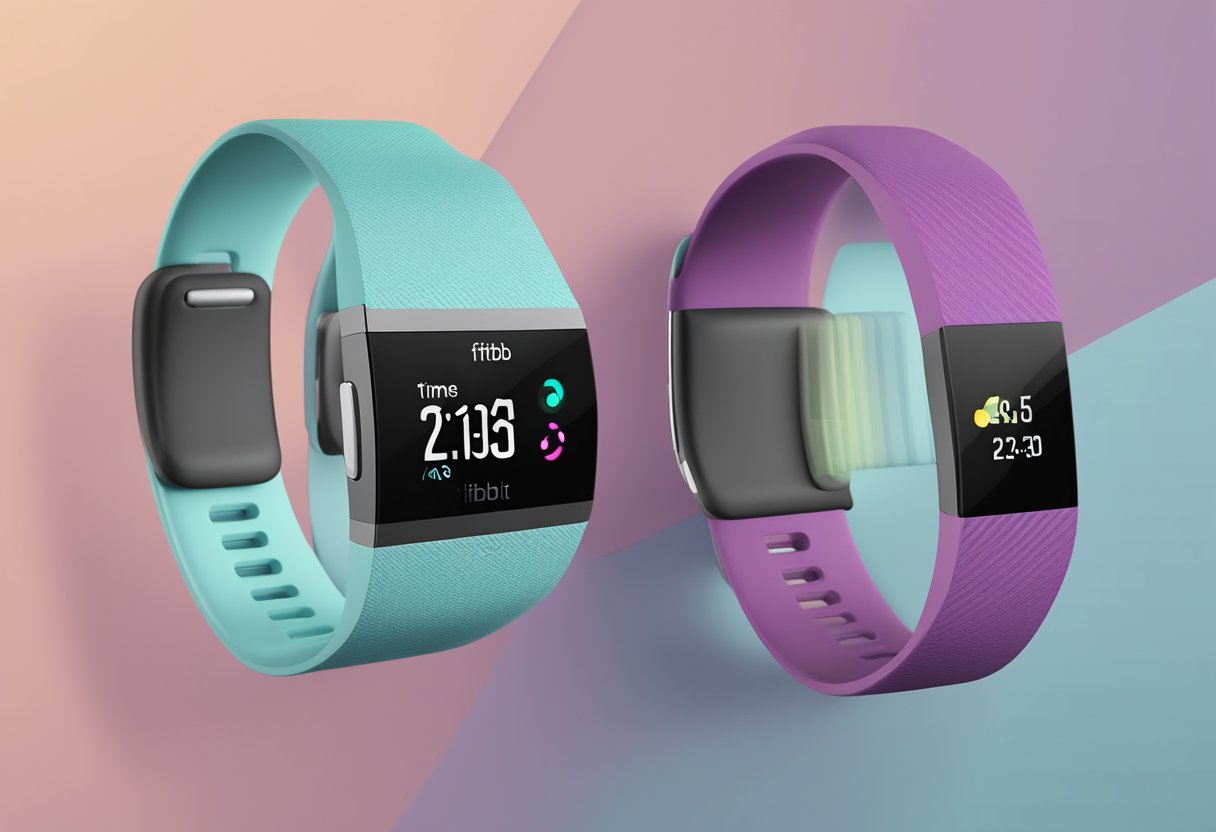
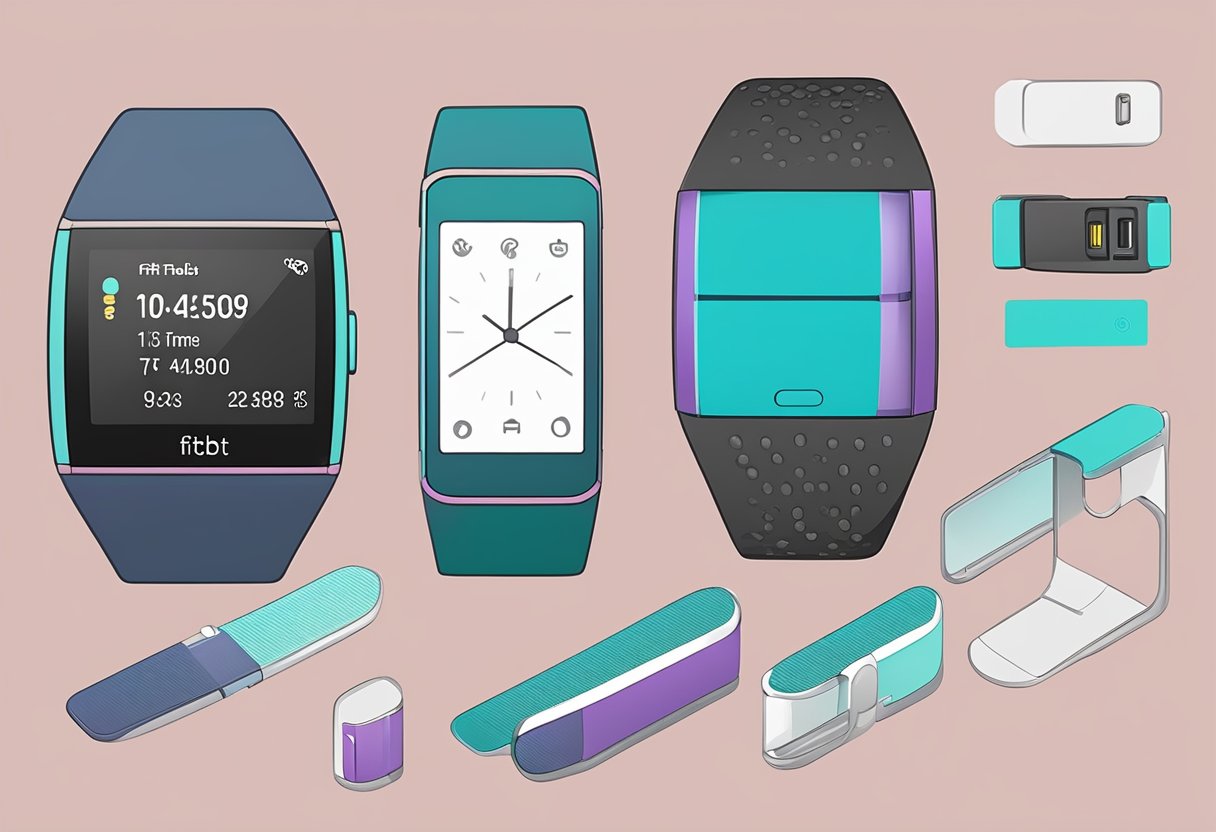
Your Fitbit device, whether it’s a fitness tracker or a smartwatch, helps you stay on top of your health and fitness goals. Models like the Charge, Versa, and Inspire come with various features that cater to your individual needs. Additionally, Fitbit Premium is a subscription service that offers added benefits, like personalized coaching and advanced insights.
When choosing a Fitbit smartwatch, battery life is an essential factor to consider. Most devices have a battery life that ranges from a few days to over a week, depending on the model and usage 1. To extend your Fitbit’s battery life, you could follow some tips from this guide.
Connecting wireless earbuds to your Fitbit smartwatch, like the Fitbit Sense, Versa 3, or Versa 2, can enhance your workout experience. To find the best wireless earbuds for your device, check out this helpful article that lists compatible options.
Fitbit devices are often waterproof to a certain extent, so you can safely wear them during activities like swimming or showering. However, it’s crucial to verify your specific device’s water resistance rating before submerging it in water.
Comparing different Fitbit models can be challenging. For instance, if you’re deciding between the Fitbit Charge 5, Charge 4, and Charge 3, you might want to research their features and specifications. This comparison guide can help you determine the best option for you.
Lastly, understanding the symbols and icons on your Fitbit can help you make the most of your device. This article goes over the meaning of various Fitbit icons and how to interpret your Fitbit data.
Remember that your Fitbit device is a tool to help you live a healthier and more active life. By getting familiar with its features and functions, you can better use it to achieve your wellness goals.
How to Access the Settings
To access the settings on your Fitbit device, you’ll first need to open the Fitbit app on your Android or iPhone. Once the app is open, tap on the Today tab, which is usually located at the bottom of the screen. Next, you’ll want to locate your profile picture and tap on it to open your profile and account settings.
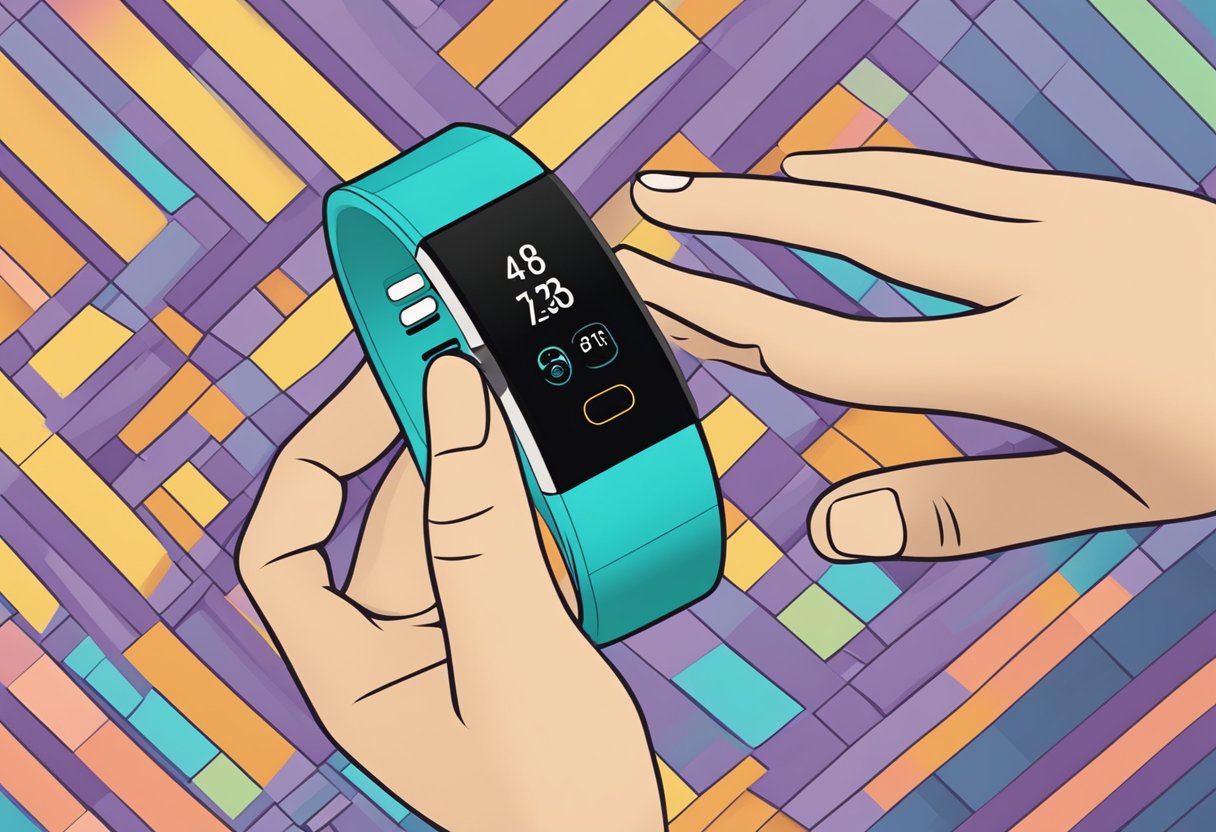
Within your profile, you’ll find the App Settings option where you can access various settings related to your Fitbit device. This is where you can make adjustments to the time, turn on your Fitbit Sense, and more. The settings icon may appear as a gear icon depending on your device.
In the App Settings, you can also manage other aspects of your Fitbit, such as water lock and the accuracy of your calorie burn. Just tap on the appropriate setting and make any necessary adjustments. Remember, if you need help with a specific feature or setting, you can always refer to the how-to guide available for your Fitbit device.
Keep in mind that customizing your settings can help you make the most of your Fitbit experience. So don’t hesitate to dive into the settings and explore everything your Fitbit has to offer!
Adjusting Time and Date
Adjusting the time and date on your Fitbit device is an essential step to ensure accurate tracking of your activities. To do this, follow these easy steps:
Open the Fitbit app on your smartphone, then tap the Today tab followed by your profile picture. Now, select App Settings. From here, you can turn off the automatic time zone feature and choose your desired time zone.
In case you want to change the time without using the app, visit this page. Fitbit allows the manual setting of time zones to accommodate users who don’t enjoy using the app.
It’s essential to update your Fitbit device when transitioning in and out of daylight savings time. The process remains the same – simply adjust the time zone accordingly.
Fitbit devices offer flexible clock display settings, allowing you to choose between 12-hour and 24-hour formats. To switch between the two, go back to App Settings within your Fitbit app, and select the format that best suits your preferences.
In addition to adjusting the time, it’s crucial to ensure the date is properly set on your Fitbit device. Just like with the time settings, you can navigate through the same App Settings menu to make adjustments to the date.
Following these simple steps will provide you with an accurate and personalized Fitbit experience, ensuring your activities and notifications are aligned with your specific time zone and preferences. Remember to update the date and time settings whenever you travel to a different time zone or when transitioning in and out of daylight savings time to maintain the accuracy of your device.
Synchronizing Your Fitbit
Synchronizing your Fitbit is essential to ensure that your device has the correct time displayed. The process is easy and straightforward. Follow these steps:
First, make sure that your smartphone and Fitbit device are connected via Bluetooth. Open the Fitbit app on your smartphone to initiate the syncing process. If you don’t have the app, you can download it from your app store.
Once you have the Fitbit app open, navigate to the account tab. From there, look for the Sync Now button. Tapping on this button will start the syncing process between your Fitbit device and your smartphone.
Now, wait for a few moments as the syncing process takes place. This will ensure that your Fitbit device receives any updates, including adjustments to the time based on your smartphone’s time settings.
After the syncing process is complete, your Fitbit device should have the correct time displayed. Make sure to sync your Fitbit periodically to keep the time accurate, especially when you change time zones or when daylight saving time begins or ends.
Remember, keeping your Fitbit device regularly synced not only ensures the correct time but also helps you track your fitness progress more accurately. Happy syncing!
Troubleshooting Tips for Time Change
Sometimes, your Fitbit may display the wrong time and adjusting it can be tricky. Don’t worry! Here are some useful tips to help you change the time on your device.
First, ensure that your Fitbit’s battery is charged, as low battery can cause glitches. If the battery is fine, proceed to check your settings. In the Fitbit app, access the App Settings and ensure that the Automatic time zone option is turned off. Then, manually select your correct time zone and sync your Fitbit device 1.
Occasionally, a software update might be required to fix the time issue. Make sure that your Fitbit is running the latest firmware. You can check for updates by visiting the Fitbit app and tapping the device icon in the top left corner. If an update is available, follow the on-screen instructions to apply it.
If you’re still encountering issues with the time, it might be a glitch. In such cases, performing a soft reset on your Fitbit device can help resolve the problem. A soft reset will not erase your data, but it will restart the device and potentially fix any minor issues. For specific steps on how to perform a soft reset, visit this website.
To sum up, if your Fitbit is displaying the wrong time, try checking your settings, ensuring your device’s software is up-to-date, and performing a soft reset if needed. These troubleshooting tips should help you easily change the time and get back on track with your fitness goals!
How to Navigate the Fitbit App
The Fitbit app is an essential tool for those using Fitbit devices, as it helps you customize, monitor, and manage your fitness experience. In this section, we will discuss how to efficiently navigate the Fitbit app—so let’s get started!
When you open the Fitbit app on your iOS or Android device, you will see the Today tab at the bottom of the screen. This tab gives you an overview of your daily activities, exercise, and sleep data. Tap on the profile picture or avatar in the top-left corner to access your account settings.
Once you’re in the account settings, you can scroll down to find the Advanced Settings option. By tapping on it, you can access various customization options for your Fitbit device. This includes changing the time zone, adjusting notifications, managing connected GPS, and more.
Within the app, you can also adjust your goals, track your progress, and update personal details. Remember, for a smooth experience, always keep your app updated to the latest version.
Now that you have a general understanding of how to navigate the Fitbit app, you can make the best use of its features and settings to enhance your fitness journey. Good luck!
Using Fitbit Web Dashboard
Using your computer, you can easily adjust the time on your Fitbit device through the Fitbit web dashboard. To get started, follow these simple steps:
Open your preferred web browser and navigate to the Fitbit website.
Look for the profile icon located at the top-right corner of the page and click on it to sign in with your Fitbit account.
Once you’re logged in, click the profile icon again and choose “My Dashboard” to access your personalized Fitbit dashboard.
From your Fitbit dashboard, you’ll be able to manage various settings related to your Fitbit device, including time and time zone adjustments. Making changes from the web dashboard will automatically sync with your Fitbit device, ensuring that your device displays the correct time.
Here’s a brief overview of how to navigate the dashboard and adjust the time settings:
Locate the “Settings” or “Gear” icon in the dashboard. This will take you to the settings area for your Fitbit account and device.
From the settings menu, look for the “Time Zone” option. You might need to scroll down to find it.
Click on the dropdown menu beside “Time Zone” and select your desired time zone. This will ensure that your Fitbit device stays updated with the correct time as you travel or when daylight saving time starts or ends.
Don’t forget to save your changes by clicking on the “Submit” button at the bottom of the page.
By following these steps, you’ll successfully update the time on your Fitbit device using the web dashboard on your computer. Remember to keep your Fitbit device connected to your account for the changes to sync properly. Happy tracking!
Hi, my name is Garrett Jones, and I am a tech enthusiast. I enjoy researching the new tech that has been released, and have a vast knowledge of the best tech to purchase.
From a young age, I have always had a big interest in technology, and this blog is an extension of that interest. Through this blog, I hope to provide others with all of the information they need regarding tech options to consider, and things such as compatibility. Some of the different items I will be discussing include headphones, smartwatches, and how to fix common issues.


")


