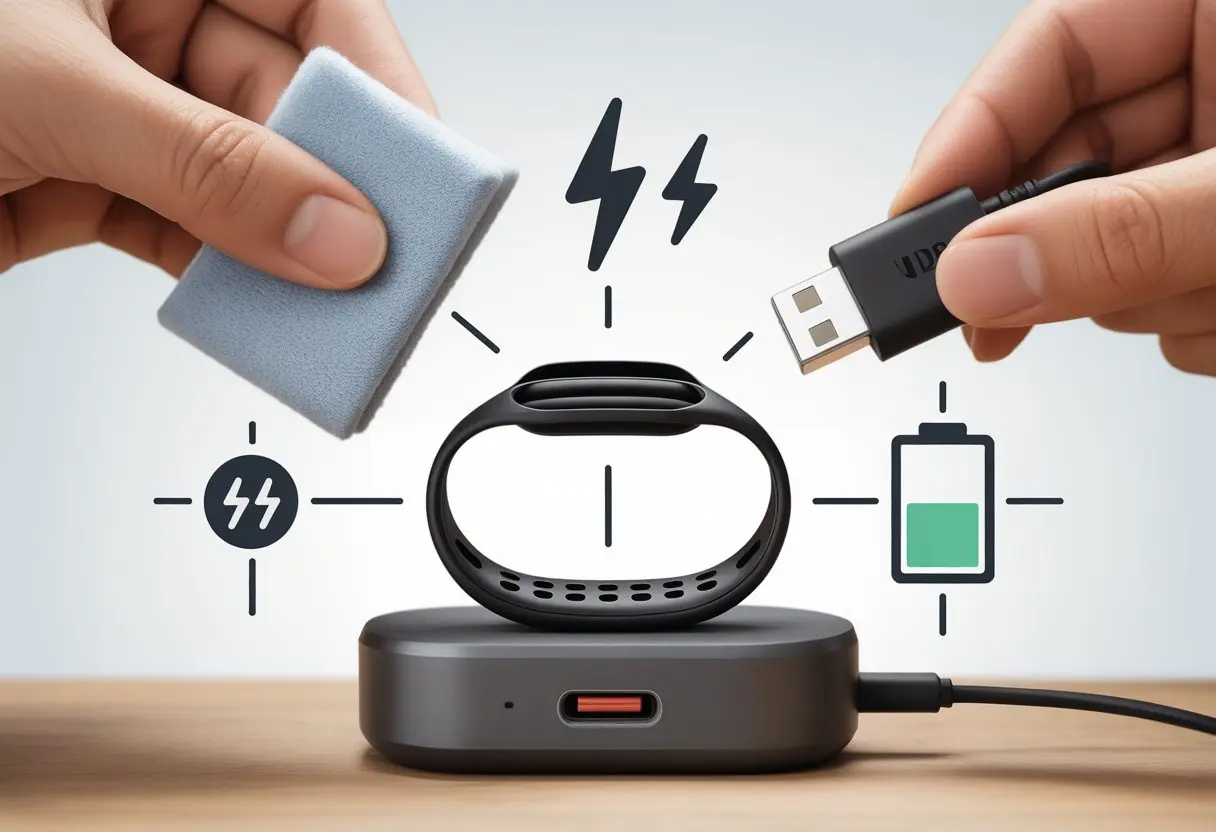
We’ve all had that moment—you’re pumped to hit your step goals, but your fitness tracker just sits there, refusing to charge. Is it the cable? The charging port? Or maybe your tracker just needs a pep talk.
Honestly, most fitness tracker charging problems come down to making sure the charging pins and cables are clean, properly connected, and not full of gunk. Sometimes, the simplest fixes save the most frustration (and steps).
It always feels a bit dramatic when your tracker dies right before a gym day or a long walk. But a few quick checks and easy resets can usually revive even the most stubborn device.
Let’s untangle these charging issues and get our trackers back in the game—or at least ready to count those trips to the fridge.
Checking Your Charging Cable
Sometimes, the real problem isn’t your tracker at all—it’s the charging cable. Before you start blaming the device, give the cable a little attention.
Check for visible damage and try a different cable if you’ve got one handy.
Inspecting for Physical Damage
Grab your imaginary detective hat and hold the charging cable up to the light. Look for frayed wires, bent pins, or weird dents.
If you spot exposed wiring or odd discoloration, that cable’s ready for retirement. Plugs should feel snug, not wobbly.
A loose USB connector can kill the charge faster than you can bail on a run when it starts raining. Check the cable ends and the spot where it plugs into the tracker.
Lint, dust, or last week’s cookie crumbs love to hide in there. Use a soft brush or a gentle puff of air to clear it out.
If your cable looks like it’s been through a war, swap in a new one. No need to risk frying your tracker—or your patience.
Trying a Different Charging Cable
It’s time for a little cable matchmaking. If you have another charging cable that fits, plug it in and see what happens.
Try a different USB port or a UL-certified wall charger too. Sometimes, finding the charging sweet spot is all about switching things up.
Testing with a different cable quickly tells you if the original was the problem. If your tracker wakes up, you’ve found the culprit.
If nothing changes, you know the cable wasn’t to blame. At least now you’re not blaming innocent wires.
Changing cables can save a lot of headaches and get you back to counting steps instead of troubleshooting.
Examining the USB Port
Before you fling your tracker across the room, take a good look at the USB port. Sometimes, a tiny bit of dust or a sneaky broken port messes everything up.
Cleaning Dust and Debris
If USB ports earned miles for every dust speck, we’d all be flying first class. Dust, lint, and crumbs can make the cable fit loosely or stop it from working at all.
Even a little grime can break the connection between the charging cable and port. Use a dry toothbrush, a can of compressed air, or even a wooden toothpick to gently clean things out.
Go easy—no need to jab the port like you’re poking a stubborn bag of chips. If you spot anything sticky, a dab of rubbing alcohol on a cotton swab (not too much!) works wonders.
Clean, shiny contacts almost always work better. If your tracker still refuses to charge, don’t give up yet.
Testing With Alternative USB Ports
Don’t let one grumpy USB port ruin your day. Sometimes, the port—not the cable or tracker—is the problem.
USB ports wear out, get loose, or just stop working. Fitbit support even suggests trying another port or a different wall charger.
Plug your tracker into another USB port on your computer, a different computer, or a certified wall charger. The more ports you try, the better your odds.
If switching ports fixes things, you know what to avoid next time. If not, we keep moving down the troubleshooting list.
Verifying Fitness Tracker Placement
Before you start searching for lost cables or cursing the battery gods, check if your tracker is actually sitting right and charging correctly.
Sometimes, it’s just a matter of getting everything in the right spot.
Ensuring Proper Alignment
If your fitness tracker had a personality, it’d be a picky guest at the charging table. Most use tiny gold pins or flat spots that must line up just right.
Here’s a quick checklist:
Look: Are the gold pins or charging pads clean? Any dust or grime will block the connection.
Align: Place the tracker on the charger and wiggle it gently until you see a charging symbol or light.
Listen: Some chargers snap or click when the tracker’s in place—like a tiny cheer for your effort.
If alignment looks fine but nothing happens, try another cable. Sometimes, the cable that came with your device really does matter, since not all cables are compatible.
Securing the Device While Charging
Now that your hands are steady, make sure the tracker actually stays put while it charges. It’s wild how easily things get knocked loose by a curious pet or a stray elbow.
Try these tricks:
Use a rubber band or hair tie to gently hold the tracker and charger together. It’s not fancy, but it works.
Lay the charger on a flat, stable surface far from chaos (or wiggly kids).
If the pins or pad don’t click in, check for debris or damage in the port. Sometimes, visible damage or debris hides in plain sight.
Trackers don’t love dramatic falls from the nightstand, so a little care goes a long way. Secure the device, and you’re that much closer to a fully charged wrist buddy.
Assessing Charging Contacts and Connectors
Let’s be honest—fitness trackers work up a sweat. It’s no shock when the charging contacts or connectors need a little TLC.
Even a bit of dirt or rust can cause charging drama.
Cleaning Charging Contacts
Charging contacts attract grime, sweat, and pocket lint like magnets. If your tracker isn’t charging, check if the metal contacts look dirty.
Even a little gunk can ruin the connection. Grab a soft, lint-free cloth and wipe them down.
If smudges won’t budge, use a cotton swab with a tiny bit of rubbing alcohol. Don’t go overboard—just a gentle wipe is enough.
Let everything dry before plugging it back in. Here’s a quick cleaning kit reference:
Tool
Use
Soft cloth
Wipe away obvious dirt
Cotton swab
Reach tight corners
Rubbing alcohol
Break up sweat and grime
If things still don’t work, it’s time to dig deeper.
Checking for Corrosion
Sometimes, you’ll spot dark or greenish spots on the charging terminals. That’s corrosion, and it usually means sweat and moisture hung out too long with the metal.
If you see crusty spots or the contacts just look off, you might have a corrosion problem. Reports of terminals corroding off entirely show this can kill charging for good.
Use a soft, dry toothbrush to gently brush the contacts. Don’t scrub like you’re cleaning barnacles—just enough to loosen things up.
If the contacts are badly damaged or missing, you’re in the danger zone. At that point, you’ll probably need repairs or a replacement, since even the best cleaning can’t bring back missing metal.
You’ve tried turning it off and on again, but sometimes your tracker needs a little digital nudge. Your phone and fitness app can help fix stubborn charging problems—no screwdriver required.
Updating Your Fitness Tracker Firmware
Trackers can get cranky if they’re out of date. Sometimes, an old firmware version is all that stands between you and a tracker that actually charges.
Grab your phone and open the app—like the Fitbit app—to check for a firmware update.
Most fitness tracker apps have a device updates section. Usually, under “Settings” or “Device Info,” there’s an “Update” button.
If you see it, tap away. Updates often squash bugs, including charging issues.
A firmware update is way faster than waiting for tech support, and it gives your tracker a much-needed boost. If you don’t see an update option, you’re already running the latest version.
Tip: Charge the tracker while updating. Nobody wants a half-finished update and more charging headaches.
Restarting the Device Using the App
Sometimes our tracker just zones out and refuses to cooperate. A quick restart can usually snap it out of its funk. The easiest way? Just use the app! Most fitness trackers—especially anything from Fitbit—let us restart the device right from their app.
Here’s how I usually do it:
Open the app and tap over to the tracker’s device page.
Find a menu or setting called “Restart” or “Reboot.”
Follow whatever steps pop up next. It rarely takes more than a minute or two.
If you can’t spot the restart button, peek in the app’s help section. Sometimes it hides in a submenu.
Restarting from the app can clear up little glitches without making us poke around for tiny side buttons. If our tracker starts charging after this, that’s a win in my book. If not, well, at least we didn’t have to wrestle with the hardware. For more tips, the Fitbit app help section usually has step-by-step guides for specific devices.
Common Software-Related Issues
Our fitness trackers can go through moody phases where nothing seems to work right. Thankfully, most software hiccups are pretty easy to handle with a little patience.
Resetting Factory Settings
Let’s be real: sometimes our tracker just needs a clean slate, kind of like us after a rough week. If it keeps freezing, won’t charge, or acts possessed, a factory reset might be the only way out.
To reset, we usually hold certain buttons or dig through the settings until we see “Reset” or “Factory Reset.” Heads up—this wipes all our data, so syncing first is a smart move if we care about those step counts.
If charging still doesn’t work after a reset, double-check all the charging cables and pins. We might want to reinstall the Fitbit app or whatever app our tracker uses to clear out any weird bugs.
Syncing Problems With App Integration
Syncing issues can make anyone want to yeet their tracker across the room. When the Fitbit app or another fitness app stops syncing, it’s time to troubleshoot.
First, check Bluetooth. Even if it says it’s on, flipping it off and back on can work magic. Sometimes, logging out and back in or even reinstalling the app does the trick. Make sure both the phone and tracker have the latest updates.
Here’s a quick troubleshooting table:
Issue
Quick Fix
Won’t Sync
Reboot both devices
Bluetooth glitch
Toggle Bluetooth off/on
App won’t open
Reinstall or clear cache
If nothing helps, try not to lose your cool. Trackers definitely don’t like coffee baths or rage throws.
When to Seek Professional Help
Sometimes, no matter what we try, our tracker just won’t come back to life. Before we turn it into a paperweight, there are still a couple of things left to check.
Contacting Customer Support
If our fitness tracker still won’t charge, it’s probably time to reach out to customer support. Most brands offer a help line, email, or chat, so we can ask, “Why is this happening?” without judgment. It helps if we have the model number and a list of what we’ve already tried.
Let’s jot down what we’ve done so far—cleaning contacts, switching cables, resetting the device. Customer service folks appreciate it when we come prepared. Usually, they’ll walk us through a few more troubleshooting steps or let us know if something’s actually broken.
If we don’t want to wait on hold, lots of brands post common fixes online. For Fitbits, the Google Help page for charging problems is pretty useful. If nothing works, at least we’ll know we tried everything.
Warranty and Repair Options
If support can’t revive our tracker, check the warranty next. Most fitness trackers come with at least a year of coverage. If our device is still under warranty, they might offer a free repair, a replacement, or a discount toward a new one.
If the warranty’s expired, we can try a certified repair shop. Some places, like uBreakiFix, will diagnose and fix charging issues. It’s always smart to ask about costs before handing over the device—nobody likes surprise bills.
If our tracker has survived too many showers, drops, or accidental stomps, repairs might cost more than it’s worth. In that case, maybe it’s time for an upgrade and a little goodbye ceremony for our trusty old fitness buddy.
Preventing Future Charging Problems
Nobody wants their fitness tracker to give up before they do. A little care and smart storage can help us avoid the dreaded “my tracker died again” moments.
Best Storage Practices
Let’s not treat our fitness trackers like old socks at the bottom of the laundry basket. Just a bit of effort makes a difference—think of storage as tucking your device in for a nap. We should always keep it in a dry, cool place and out of direct sunlight. Leaving it in a hot car or on a windowsill is just asking for trouble.
If we notice any leftover sweat (it happens), a quick wipe-down before storing saves headaches later. For devices we’re not using for a while, unplug them and store them about half-charged. That keeps the battery happier than a dog with a new toy.
Table: Storage Tips
Do
Don’t
Keep it dry
Store in heat
Wipe after use
Leave it in sun
Store half-charged
Toss it anywhere
Regular Maintenance Routine
Let’s not wait until our tracker gives us the silent treatment. Regular maintenance really keeps it going strong.
We should grab a cotton swab or soft toothbrush and clean off the charging contacts. Lint, dust, and whatever else lurks at the bottom of our bags can block charging faster than a dog blocks our path at dinnertime.
It’s smart to check our charging cables, too. Bent pins or frayed wires can turn charging into a guessing game—who wants that?
If you’re feeling brave, dab a little rubbing alcohol on a swab and clean off stubborn gunk. That’ll help keep your device contacts as shiny as your post-run glow.
Set a maintenance reminder every month if you’re forgetful (like me). Your tracker might just reward you with fewer charging hiccups and more time to obsess over your step count.
Hi, my name is Garrett Jones, and I am a tech enthusiast. I enjoy researching the new tech that has been released, and have a vast knowledge of the best tech to purchase.
From a young age, I have always had a big interest in technology, and this blog is an extension of that interest. Through this blog, I hope to provide others with all of the information they need regarding tech options to consider, and things such as compatibility. Some of the different items I will be discussing include headphones, smartwatches, and how to fix common issues.


")
