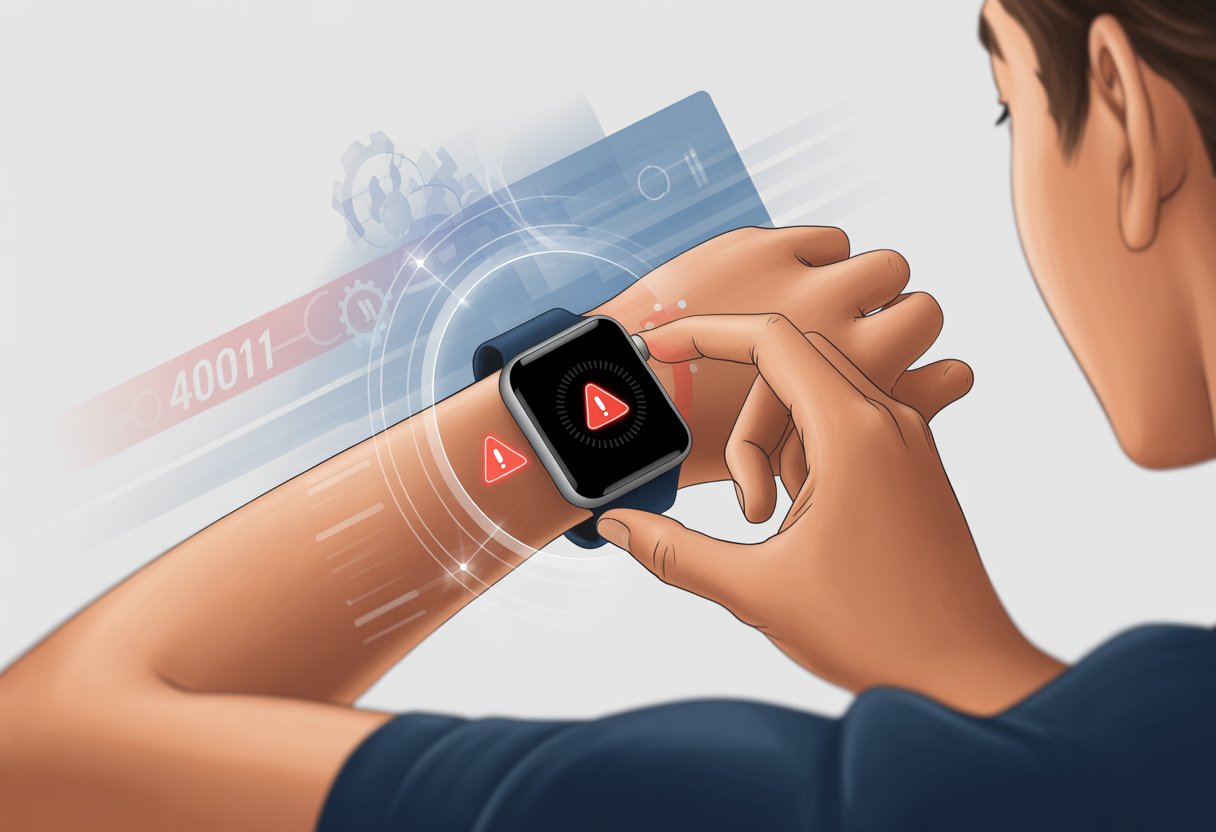
Smartwatches are awesome—until they hit us with cryptic error codes. If you’ve ever tried to set up your smartwatch and wound up stuck on “error code 4001,” hey, you’re not alone. Smartwatch error code 4001 usually pops up when the watch can’t connect to the network, but honestly, it’s almost always because our phone hasn’t granted the right permissions.

Nothing ruins a morning jog like a watch that refuses to cooperate. The fix for error 4001 isn’t as scary as it sounds, even if it makes us want to throw our charger across the room. With a few quick tweaks—tips people share on forums and guides—we can usually revive our smartwatch from its digital sulk.
We’ll run through some easy steps—no need to be a tech whiz—that can help us out of error code 4001 limbo. Let’s finally kick that error to the curb.
What Is Smartwatch Error Code 4001?
Error code 4001 is the smartwatch’s way of waving a red flag when it feels neglected or confused. We usually bump into this issue while setting up an eSIM or trying to activate LTE features, especially on new Samsung Galaxy Watches.
Common Causes of Error Code 4001
Let’s be real—Error 4001 shows up when tech wants to test our patience. Most of the time, it appears because our smartwatch wants certain permissions that we haven’t granted yet. On Samsung Galaxy Watches, like the Galaxy Watch 4, not giving the Carrier Login Engine app permission to use phone functions can trigger this error. Granting those permissions is like giving a dog a treat—it stops the whining.
Using a prepaid SIM card can also cause trouble. Some watches, like the Galaxy Watch 5, are picky and only work with postpaid contract plans, not prepaid ones. It’s almost as if our watch wants to settle down in a long-term relationship. Pairing the watch with an unsupported device can also trip Error 4001. If we try to activate LTE using a non-Samsung phone or a carrier that doesn’t play nice, that error will show up faster than our morning alarm.
Devices Affected by Error 4001
Error 4001 doesn’t really discriminate. Samsung smartwatches with LTE support—like the Galaxy Watch 4, Galaxy Watch 5, and newer models—are all fair game. This error especially haunts Galaxy Watches when we pair them with non-Galaxy phones or use them in places where the carrier setup isn’t quite right.
If we set up a Samsung Galaxy Watch LTE with an iPhone or another Android brand, we should prepare for Error 4001 to crash the party. A mismatch between the watch, carrier, and SIM type will keep us stuck in error mode. For anyone who’s frustrated and wondering why their steps aren’t being tracked, this forum discussion about persistent Error 4001 on the Galaxy Watch 4 proves we’re not alone.
Quick Fixes You Can Try Right Now
Sometimes our smartwatches just need a little nudge, kind of like a stubborn cat. If error code 4001 is making your Galaxy Watch misbehave, we’ve got a few simple tricks to try before we start cursing at it. None of these require a PhD—or even much patience, really.
Restart and Reset the Watch
Let’s start with the obvious: turn it off and on again. Hold down the power button until the restart menu appears, then tap “Restart.” If that doesn’t help, try a reset.
Don’t forget to backup your watch data first! This way, we keep our step count and those questionable sleep logs. Open the Galaxy Wearable app, head to “Account and Backup,” and hit “Back up data.”
To reset, go to Settings > General > Reset on the watch. This gives the device a clean slate. A lot of users say this move fixed their eSIM setup problems.
Toggle Airplane Mode
Sometimes, our watch just needs a quick break—like when we ignore our phones for a few minutes. Swipe down on the watch face, tap the airplane icon for Airplane Mode, wait about 15 seconds (hum a tune if you want), then tap again to turn it off.
This resets all wireless connections. If the Galaxy Watch was struggling to connect, this might help it find its bearings.
Here’s a quick rundown:
| Step | Action |
|---|---|
| 1. Swipe Down | From home screen |
| 2. Tap Airplane Icon | Enable Airplane Mode |
| 3. Wait 15 seconds | Maybe stretch a bit |
| 4. Tap Again | Disable Airplane Mode |
Update Galaxy Wearable App
Updating the Galaxy Wearable app can work wonders. If the app is outdated, it may be the sneaky reason error 4001 keeps bugging us. Open the Play Store (or Galaxy Store), search “Galaxy Wearable app,” and tap “Update” if it’s there.
After updating, launch the app and see if it fixes the pairing or activation headache. Updates often include bug fixes for errors like 4001, and sometimes even fun new features. Keeping the app up to date can patch issues before they ruin our day.
Mobile Network Issues Behind Error 4001
Error 4001 can turn our fancy smartwatch into a stubborn bracelet. Usually, something is off with our mobile network setup, plan, or SIM card—tech drama at its best.
Check Your Mobile Plan and LTE Activation
Before we blame the universe, let’s double-check if our mobile plan even supports smartwatches. Not all plans include LTE for wearables—some carriers want us to fork over extra cash for that. If we try to activate LTE without the right plan, error 4001 is basically waiting for us.
Contact our carrier and ask:
- Does the plan include wearable support or number sharing?
- Are there any missing eSIM activation steps?
- Any overdue bills or recent plan changes that might block LTE?
If we’re using a non-Samsung phone, things get tricky. Sometimes, we have to use a Samsung device to set up the cellular plan. After activating on a Galaxy phone, we can switch back to our favorite device.
SIM Card and eSIM Troubleshooting
Sometimes, the SIM card—or its digital cousin, the eSIM—just wants to cause trouble. If we don’t insert a physical SIM properly, or if the eSIM gets stuck during activation, error 4001 can show up out of nowhere.
Checklist:
- Take out and re-insert the SIM card carefully.
- For eSIM, follow the carrier’s QR code activation steps exactly.
- Make sure all permissions for any carrier login apps are turned on, especially for the Carrier Login Engine app.
- Restart both the watch and the phone after making changes.
If error 4001 keeps showing up, maybe it’s time for a backup and reset. Sometimes, our watch just needs a nap—don’t we all?
Permissions, Pairing, and Connectivity
Troubleshooting error code 4001 can feel like our watch is outsmarting us. Most of the time, it boils down to checking app permissions and making sure our watch and phone are actually getting along. Here’s how we handle both without losing our cool.
Grant Necessary Permissions to the Wearable App
Let’s talk about permissions. The Galaxy Wearable app (and others) can be pretty demanding. If we don’t give them what they want, they make our lives harder.
To fix error code 4001, we need to make sure the app can access everything it needs—especially our phone functions. Open settings on the phone, go to Apps, and find the Galaxy Wearable app (or whatever app we’re using). Tap it, then tap Permissions.
Make sure Phone, Contacts, and Location permissions are all on. There might be a system app called “Carrier Login Engine” that also needs phone permissions—if you find it, turn those on too. Granting the right permissions often gets rid of the error, as plenty of folks with eSIM setup issues have discovered.
Re-pairing Your Watch With Your Phone
If fixing permissions didn’t work, it’s time for the classic move: unpair and re-pair. Sometimes, our watch and phone just need a fresh start.
Try this:
- Remove the watch from the phone’s Bluetooth list: Go to Bluetooth settings, find the watch, and tap “Forget.”
- Reset the watch: This wipes out stubborn errors hiding in old settings.
- Restart both devices just to be sure.
- Pair the watch again using the Galaxy Wearable app and follow the setup steps.
A lot of users say this process finally got their watch and phone to cooperate, as seen in various forums.
If it’s still not working, maybe our watch just needs another reset—or a little more patience from us.
Galaxy Watch 4 LTE Special Considerations
Setting up LTE on the Galaxy Watch 4 can be a real adventure. There are a few model quirks and provider rules to watch out for if we want to leave our phones behind and still get all those important texts.
Model-Specific LTE Setup
The Galaxy Watch 4 LTE isn’t exactly a universal gadget. Some model numbers only play nice with certain carriers, and if you try to set it up with a non-Samsung phone, well, you might as well be trying to paddle a canoe with a fork. If error code 4001 pops up, you’ll probably need to put your SIM card in a Samsung Galaxy phone, pair the watch, and give LTE setup another go.
Here’s a quick sanity checklist:
- Use a compatible Samsung phone, not just any old Android.
- Double-check that your watch model matches your carrier’s approved list.
- If you’re on Jio eSIM, some folks say resetting network settings and permissions can sometimes shake loose the eSIM problems.
If you’re still stuck, don’t stress. Loads of people have battled Galaxy Watch 4 LTE error 4001, so at least you’re in good company.
Fixes for Different Carriers
Error 4001 doesn’t have a one-size-fits-all fix. Each carrier has its own quirks, so what works for T-Mobile might leave Verizon or Jio users scratching their heads in frustration.
T-Mobile: Common Solutions
Let’s talk about T-Mobile. Here, the most common fix is to use a Samsung phone to pair the watch and set up the cellular plan. If you don’t own one, maybe borrow from a friend or family member. After you pair and activate, you can put your SIM back in your regular phone and reconnect the watch—usually, that does the trick.
Don’t forget about permissions. The Carrier Login Engine app needs full phone permissions, or your watch will just throw error 4001 at you. Go to Settings → Apps → Carrier Login Engine → Permissions and let it access the phone. If nothing else works, try a factory reset on the watch, but only after you’ve backed up everything.
Here’s the rundown:
- Pair with a Samsung device for setup
- Give Carrier Login Engine the permissions it wants
- Swap SIMs only after setup finishes
- Reset the watch only if you’re out of options
You can check out more step-by-step T-Mobile solutions in this watch setup guide.
Verizon: Troubleshooting Steps
Verizon always has to do things a little differently. Error 4001 here usually ties back to the NumberShare setup process. Make sure your plan actually supports smartwatches and that NumberShare is turned on. Sometimes, you’ll need to turn off Wi-Fi and Bluetooth, then restart both devices to get them to connect—like trying to get two shy pets to finally meet.
Often, permissions trip things up. Double-check that the watch’s phone permissions are on (Settings > Apps > Permissions). If your watch is still being stubborn, it might be time to call Verizon support and see what tricks they have up their sleeves.
Checklist:
- Make sure NumberShare is active
- Grant all phone and Bluetooth permissions
- Restart both devices and try again
- If all else fails, call Verizon support
Jio: Regional Fixes
For Jio users, patience is honestly your best friend. Error 4001 usually comes from regional quirks—Jio wants things its way. Make sure your Jio plan is actually smartwatch-compatible. In India, a lot of people have had success by registering their watch via a Samsung phone and the official Galaxy Wearable app.
APN settings matter here. If your configurations are off, the watch just won’t connect. Sometimes, you’ll need to visit a Jio store to activate your eSIM or get help with the pairing. Jio really expects you to follow their instructions to the letter.
What helps:
- Use an official Samsung phone for the first setup
- Double-check APN and regional settings
- Visit a Jio store if you need hands-on help
If you want to see what others have gone through, check out these real-life Jio troubleshooting stories.
How to Ensure Calls and Messages Work After the Fix
After you finally fix error code 4001, you’ll want to make sure your watch actually works for calls and messages. Otherwise, what’s the point?
Test Receive Calls and Messages Functionality
Time for a test drive. Ask a friend (or your mom, she’s always game) to call your number while your smartwatch is connected. If your wrist rings and you can answer, give yourself a pat on the back. If not, check your Bluetooth or cellular settings—sometimes even smart tech gets confused.
Now, send yourself a text from another device. If it pops up on your watch, you’re golden. If not, maybe try re-pairing the watch or double-checking app permissions.
If things still don’t work, try restarting both devices or follow extra troubleshooting steps for Galaxy Watches. Sometimes, a simple restart is all it needs. Once it’s working, your smartwatch should handle calls and texts like a pro.
Contacting Support the Right Way
Sometimes, no matter how many times you restart or curse at your watch, error code 4001 just won’t go away. That’s when it’s time to call in the experts.
When to Reach Out for Help
If you’ve tried everything—restarting, unpairing, even the dreaded factory reset—and error 4001 still refuses to budge, it’s time for backup. A big clue is if the issue keeps popping up during eSIM activation or setup and just won’t resolve.
Support can help when you keep seeing the same error after following all the guides and forum advice. If updating both the watch and phone doesn’t help, or if setting up the cellular plan just won’t work, it’s probably time to get help.
If you feel like you’re doing more tech support than watch-wearing, don’t hesitate to reach out to support. That’s what they’re there for.
Getting the Most from Support
Let’s not show up to support clueless. Here’s a quick checklist:
- Jot down the error code (yep, 4001 in this case).
- Know your watch’s model number and software version.
- List what you’ve already tried—resetting, updating, unpairing, and, of course, the classic “turn it off and on again.”
- Snap a screenshot or note any odd messages.
- Have your carrier info handy, especially if you’re dealing with LTE or eSIM weirdness.
If you give clear info right away, you’ll avoid endless back-and-forth emails or repeating yourself until you lose your mind.
Samsung lets you reach out by live chat, phone, or you can even brave the service centers if you’re feeling patient (or just want to people-watch).
Support agents? They’re people too—most days, anyway. A bit of patience and maybe a digital smile can definitely get you back to step counting faster.
- Why is my fitness tracker not holding a charge? Your Lazy Battery Might Need a Pep Talk - February 9, 2026
- How to use Bluetooth headphones with a treadmill Without Accidentally Inventing a New Dance Move - February 8, 2026
- Fitbit Battery Life Comparison: Which Tracker Won’t Abandon You First? - February 8, 2026


