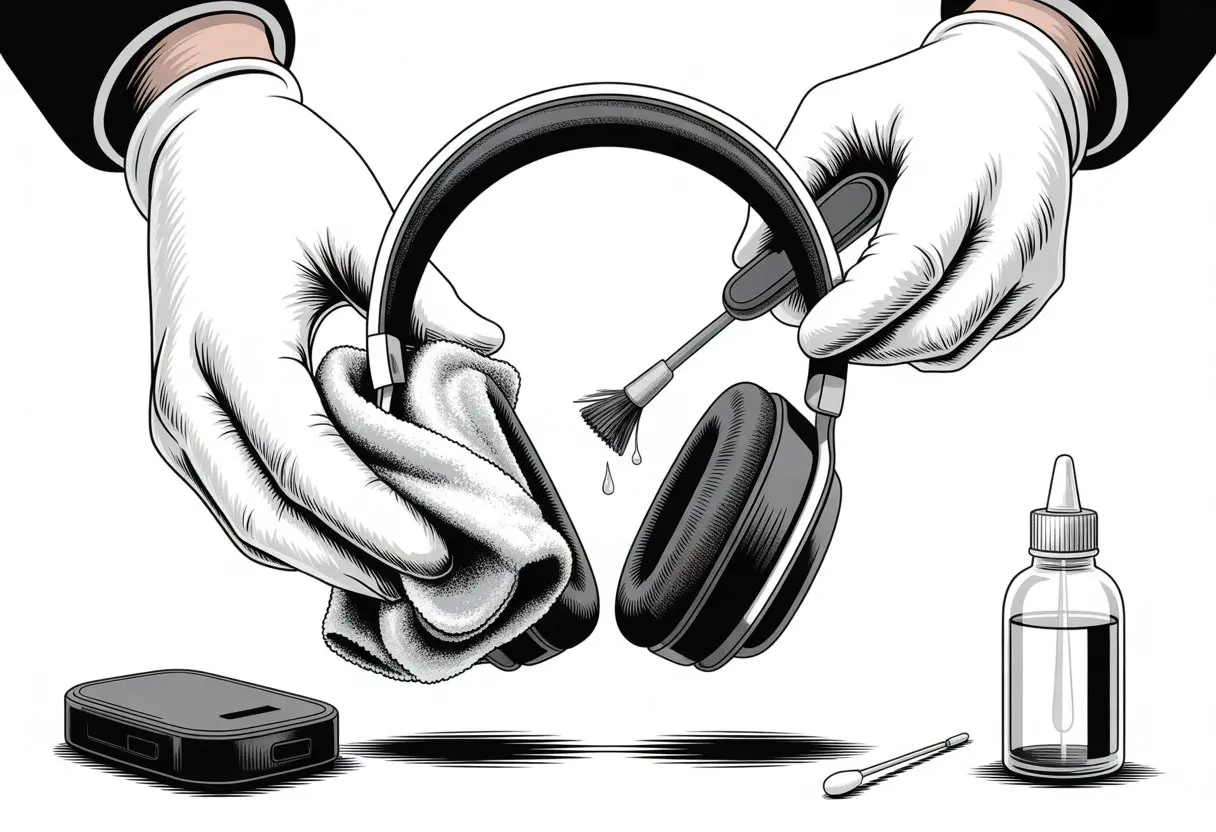
Let’s be honest—Bluetooth headphones go everywhere with us. Unfortunately, they pick up dust, oil, and a lot of mysterious pocket lint along the way.
We should clean our headphones by gently wiping the earpads or earbud tips with a damp cloth about once a week. That keeps them safe, fresh, and working well.
Nobody wants to find out that weird smell in their bag was actually their headphones. A quick clean helps us dodge awkward moments and gross ear gunk.
For stubborn spots, we can use alcohol swabs or soak removable earbud tips in warm soapy water. Pros recommend this trick in guides like this one on cleaning earphones.
Let’s keep our tunes fresh and our ears happier by learning how to clean headphones the right way.
Preparing to Clean Your Bluetooth Headphones Safely
Before we get started, let’s check the headphone instructions, gather our supplies, and figure out if we’re dealing with water-resistant tech or something a little more delicate.
Review Manufacturer’s Instructions
Honestly, most of us ignore the manual, but now’s the time to actually check those safety directions. Every pair of Bluetooth headphones is a bit different.
Some say “wipe gently,” while others basically beg us not to use soap. If we skip this step, we might end up with headphones that only play static.
Most manuals are online. Just Google your model plus “user manual” and you’ll probably find it.
Look for sections labeled “care,” “cleaning,” or “maintenance.” Pay attention to any warnings about chemicals or cleaning methods—especially when it comes to alcohol or strong detergents.
Here’s a quick checklist:
- Any warnings about certain cleaners?
- Should we remove ear pads or tips first?
- Are the charging ports or microphones extra sensitive?
By following the manual, we avoid accidental headphone tragedies. It’s boring, but it beats buying new headphones.
Gather the Right Cleaning Supplies
We don’t need fancy gadgets to clean Bluetooth headphones. The right basics work just fine.
Here’s a simple supply list:
| Item | Purpose |
|---|---|
| Soft, lint-free cloth | Wipes down surfaces without scratching |
| Cotton swabs | Reaches tight spots and crevices |
| Mild soap or cleaner | Cleans off dirt gently |
| Small bowl of water | For dampening cloth (not dunking headphones) |
| Toothpick | Dislodges stubborn debris |
Let’s avoid the classic mistake: never soak your Bluetooth headphones. Too much water spells disaster.
Just lightly dampen the cloth—think “barely misted.” If we use soap, make sure it’s super diluted. Headphones don’t like strong chemicals, so skip bleach or harsh cleaners.
Check for Water Resistance or Waterproof Rating
Are our Bluetooth headphones ready for a quick rinse, or will a single drop of water ruin them? Check the waterproof or water resistance specs, usually called the “IP rating.” It’ll look like IPX4, IP67, or sometimes there’s no rating at all.
Here’s what matters:
- No rating: Keep them dry. Seriously.
- Water-resistant (IPX4): Okay with sweat and light splashes, but don’t dunk them.
- Waterproof (IP67): A quick rinse might be fine, but double-check your model’s cleaning tips.
Manufacturers usually list this info in the manual or on the product page. Don’t gamble—when water meets electronics, electronics almost always lose.
For more about safe headphone cleaning, see this ultimate guide.
Disassembling Your Headphones for Deep Cleaning
Deep cleaning our Bluetooth headphones means taking them apart a bit. No need to become an engineer—just handle the small parts gently and keep track of everything.
Remove Ear Tips and Earbuds Securely
Don’t yank the ear tips off like you’re in a rush. Most silicone tips pop off with a gentle pinch and wiggle.
Hold the earbud steady and pull the tip straight off—no twisting needed. For foam tips, squeeze gently before removing so they don’t tear.
Always check the tips for damage before you snap them back on. While they’re off, peek at the mesh for any gross buildup.
Put each piece on a clean towel so nothing rolls away. If you’re not sure about removal, brands like JBL have good guides.
Clean the tips with warm soapy water and let them dry fully before putting them back.
Handle Charging Cases Like a Pro
The charging case is always collecting pocket lint. To clean it, don’t dunk it in water like a cookie in milk.
First, unplug the case and take out any earbuds or tips. Wipe the outside and inside with a soft, lint-free cloth.
Use Q-tips or a soft brush for corners and the charging contacts. For grime, a bit of rubbing alcohol on a cotton swab works, but keep liquid away from the electronics.
Wait until everything is completely dry before putting it back together. That way, your headset stays charged and happy.
Gentle Cleaning Techniques for the Main Components
Nobody wants sticky headphones messing up their playlist. If we stick to a gentle cleaning routine and use the right tools, our Bluetooth headphones will stay clean and germ-free for a lot longer.
Wiping Down the Headphones Exterior
Grab a soft cloth—microfiber is perfect, but a clean washcloth works too. If you’re tempted to use sandpaper, please don’t.
Dampen the cloth just a little with water and a tiny drop of dish soap. No need for a bubble bath—less is more.
Wipe the headband, earcups (just the outside), and joints where dirt collects. For stubborn spots, dab a touch of rubbing alcohol onto the cloth.
Dry with a separate cloth right away. Avoid paper towels—they scratch and shed lint. Stay gentle, and don’t soak anything.
Want more tips? Check out Bose’s official cleaning page.
Cleaning Earphones and Speaker Grills
Earwax and debris love to hang out on earphones and speaker grills. To get rid of it, use a soft-bristled toothbrush or a small cleaning brush.
Brush away visible gunk gently, using small circles. Don’t poke the mesh or try to dig too deep.
For stubborn dirt, try a barely damp cloth or cotton swab. If the mesh is really clogged, tweezers can help—just be careful not to damage anything.
Never flush your headphones or stick sharp things inside. If you need visuals, JBL has a cleaning walkthrough.
Your headphones—and your ears—will thank you.
Sanitizing Ear Tips and Silicone Parts
Ear tips and silicone parts attract grime, wax, and germs faster than socks disappear in the wash. Cleaning these keeps headphones fresh, helps them last, and actually makes them sound better.
Using Warm Soapy Water and Neutral Detergent
Let’s start with the classic: warm soapy water. Remove the silicone ear tips from your headphones—no tools, just a gentle pull.
Soak them in a bowl of warm water and a bit of neutral detergent or simple hand soap. Let them relax for a few minutes—they deserve it.
Gently scrub with your fingers or a super soft brush. Don’t go wild; harsh scrubbing is for pots, not silicone.
Rinse under running water to remove any soap. Dry with a paper towel or soft cloth, then let the tips air dry completely.
No one wants soggy ear tips. And please, don’t microwave them unless you’re aiming for chaos.
Applying Hydrogen Peroxide or Rubbing Alcohol Safely
For extra germ-busting, use hydrogen peroxide or rubbing alcohol—never both at once. Grab a cotton swab or alcohol wipe and gently clean the ear tips.
Don’t use too much or the silicone might dry out. A quick wipe is plenty; never soak the tips in these liquids.
Make sure your hands are clean before you start, or you’ll just add more dirt. Both hydrogen peroxide and rubbing alcohol evaporate quickly, so residue isn’t a big worry.
CNET’s guide suggests disinfectant wipes and gentle cleaning, which lines up with this routine.
Let everything dry completely before putting the tips back on—nobody wants a wet-ear surprise.
Deep Cleaning Tricks for Stubborn Gunk
Even when we think we’ve cleaned our Bluetooth headphones, there’s always that one sticky spot left. Ear gunk can be persistent, but with some patience and the right tools, we can handle it.
Deploying Cotton Swabs and Q-Tips for Precision
When we’re dealing with tiny crevices and those hard-to-reach spots, cotton swabs and Q-tips really save the day. I usually start by dampening a cotton swab with just a bit of water or rubbing alcohol—enough to clean, but not enough to drip everywhere.
With a gentle twist, I roll the Q-tip along the edges and mesh grilles. The key here: Never jab or force the Q-tip into any headphone openings.
We only want to clean the surface. Pushing dirt deeper just asks for trouble. If the ear tips look grimy, I’ll pop them off and soak them in warm, soapy water for about half an hour.
That little spa treatment actually works wonders, as explained in this deep cleaning earbuds guide.
For finishing touches, I grab a dry swab to pick up any leftover moisture. If the cotton starts falling apart, I swap it out fast—no one wants extra fluff stuck inside their gear.
Brushing Away Debris with a Toothbrush
Trapped dirt is a nightmare for headphones, but a soft-bristled toothbrush can really help. I take a clean, dry toothbrush and gently brush the mesh and seams.
A circular brushing motion lifts out more grime and frees up particles that stick to the surface. I always avoid using water at this stage.
If I absolutely need a bit of moisture, I’ll dampen the toothbrush just a touch and carefully brush the earbud tip—never the speaker part. Toothbrush bristles reach places cotton swabs just can’t.
Watching little clumps of lint and dust come off feels oddly satisfying. It’s almost like giving your headphones a mini-makeover.
Gentle strokes work best; there’s no need to get aggressive. A clean brush means cleaner buds, and that keeps things sounding fresh and looking sharp, just like the pros suggest.
Drying and Reassembling: Avoiding Common Mistakes
If we rush through drying or reassemble too soon, we might damage our headphones before we even get to enjoy music. Making sure every piece is dry and fits back in the right place saves a lot of headaches and weird crackly noises later.
Properly Drying All Components
Patience matters here. After cleaning, I let every part air dry—no cheating with hairdryers or ovens, even when I’m tempted.
Heat can melt plastic, mess up electronics, and basically turn your headphones into a disaster. I lay all the pieces on a clean towel in a safe, dry spot.
If ear pads or rubber tips come off, I let them dry separately. Some guides say to shake out extra water, and honestly, that’s not bad advice—unless you want to accidentally fling parts across the room.
If I get the urge to speed up drying with gadgets, I try to resist. Experts say it’s safer to just let everything sit until it’s totally dry. Sometimes, waiting overnight is the best move.
Putting Your Headphones Back Together
Once everything feels dry (seriously, double-check), I snap all the pieces back where they belong. Forcing parts or ignoring that one leftover screw just leads to regret.
I start with the ear pads or rubber tips, making sure they fit snugly. A quick wipe with a dry cloth makes my headphones look brand new.
If there are wires, I plug them in gently. Need some guidance? Checking the brand’s manual or a YouTube repair guide can really help.
Before heading out, I always test my headphones to make sure sound comes from both sides. No one wants to play “guess that beat” with just one ear.
Cleaning and Caring for the Charging Case
Bluetooth headphones need a clean, dry charging case to stay happy. Keeping every port and corner spotless helps them work better (and keeps weird smells away).
Removing Debris and Dust Safely
Let’s be honest: pocket lint is the enemy of every charging case. To tackle it, I unplug and turn off anything electronic—no one wants a shock.
I use a dry, soft cloth for the outside, wiping every surface and paying extra attention to corners where gunk collects. Lint hides in charging ports and seams, so I grab a small soft-bristle brush or clean toothbrush for those spots.
I brush out hidden debris gently—no stabbing or scraping. For stubborn specks in the charging port, I’ll use a hand-held vacuum or blow away dust with a puff of air.
I avoid toothpicks, tempting as they are, since scratching the contacts will just make things worse. If you want more details, these tips for removing debris from charging ports are pretty helpful.
Disinfecting Without Short-Circuiting
Now for the germs and mystery grime. Our goal is squeaky clean, not fried electronics.
I take a soft, slightly damp cloth and wipe the outer surfaces. Using one moistened with 70% isopropyl alcohol dries things fast and keeps electronics safe.
I never soak or pour liquid into the case—we’re cleaning, not running experiments. If it’s really gross, I’ll use a disinfecting wipe (just not dripping wet) to shine things up.
After cleaning, I leave the case open to air dry. No hairdryers, microwaves, or sunbathing—just waiting for moisture to disappear. If you want more tips, check out this charging case cleaning guide.
Avoiding Bacteria and Ear Infections
Nobody wants an ear infection, and honestly, thinking about bacteria partying on our headphones is kind of gross. If we want happy ears, we need to make headphones a clean, welcoming space—not a germ hotel.
Best Hygiene Practices for Headphone Users
I try to clean my ear tips every week. A soft, dry, lint-free cloth wipes away sweat and dirt, and for sticky messes, a damp cloth with a little filtered water works well.
Cotton swabs help with tiny spots, but I leave toothpicks for the salad bar. Disinfectant wipes come in handy, especially after trips to the gym or crowded places.
I avoid using soap or soaking my headphones, since that just gives bacteria more places to hide. One rule I always follow: never put headphones in with wet ears.
Moisture basically invites bacteria in. Skipping this step is like leaving the door open and then wondering why raccoons (or bacteria) showed up. For more hygiene tips, this guide on cleaning earbuds and headphones is worth a look.
Recognizing When It’s Time to Replace Ear Tips
Let’s be honest—sometimes ear tips just get way too gross, no matter how much we try to clean them.
If the silicone or foam looks discolored, smells weird, or feels sticky, that’s a big red flag. Those are all signs it’s time to toss them out.
Nobody wants old ear tips turning into a breeding ground for bacteria.
Daily use, sweat, and dirt really wear ear tips down fast. If they don’t fit snugly anymore or you spot cracks or tears, there’s just no saving them.
Ear tips aren’t built to last forever. Hanging onto them too long? That’s just asking for an ear infection.
Swapping them out for fresh ones keeps your ears safe—and honestly, your music sounds better too.
If you’re ever unsure, here’s a quick gut check: if you wouldn’t put it in your mouth, don’t put it in your ears.
You can always read more at the HealthPartners blog on safe earbud use.

From a young age, I have always had a big interest in technology, and this blog is an extension of that interest. Through this blog, I hope to provide others with all of the information they need regarding tech options to consider, and things such as compatibility. Some of the different items I will be discussing include headphones, smartwatches, and how to fix common issues.
- How to Improve WHOOP Recovery Scores Without Giving Up Pizza or Netflix - April 7, 2026
- Why is my fitness tracker not unlocking my computer? Tech tantrums and wearable woes explained - April 7, 2026
- Best Fitness Trackers for Stress Relief: Because Your Anxiety Deserves a Step Counter Too - April 6, 2026
Related Posts:


